Lightroom 101: HSL/Color Split Tone Colleen Bies Photography
(transcription below)
Welcome back to Lightroom 101. Today we’re going to be covering the HSL color panel in Lightroom. And we’re actually going to cover split toning as well, just because it’ll be easy to knock out both of these, because they’re not a ton of work. And then I’ll do a couple that have some of these combined together as well.
HSL standing for hue, saturation, and luminance. You can literally just go to hue, or click on saturation, or luminance, and work there, or you can have them all open. I like seeing them all open, but you don’t have to do it that way.
So, let’s just start with hue on here. Hue is basically how your image, your color, how they tend to … I guess where they tend to error on. Like, reds. Sometimes if you want to, your reds can be … Your reds can have these more magenta colors, or these more orange colors.
So, as you can see, the reds that are in the image as I move them to the left, you can see that her skin tone must have some red in it, because it’s turning that magentay color, and if I turn all the way to the right, all of her reds are turning very orange, yellow.
And same thing with orange. You can turn all your oranges more yellow, or you can turn your oranges more red. See? Looks really interesting, right? In your yellows that works the same way. You can turn your yellows a lot more orange, or you can turn them a lot more green.
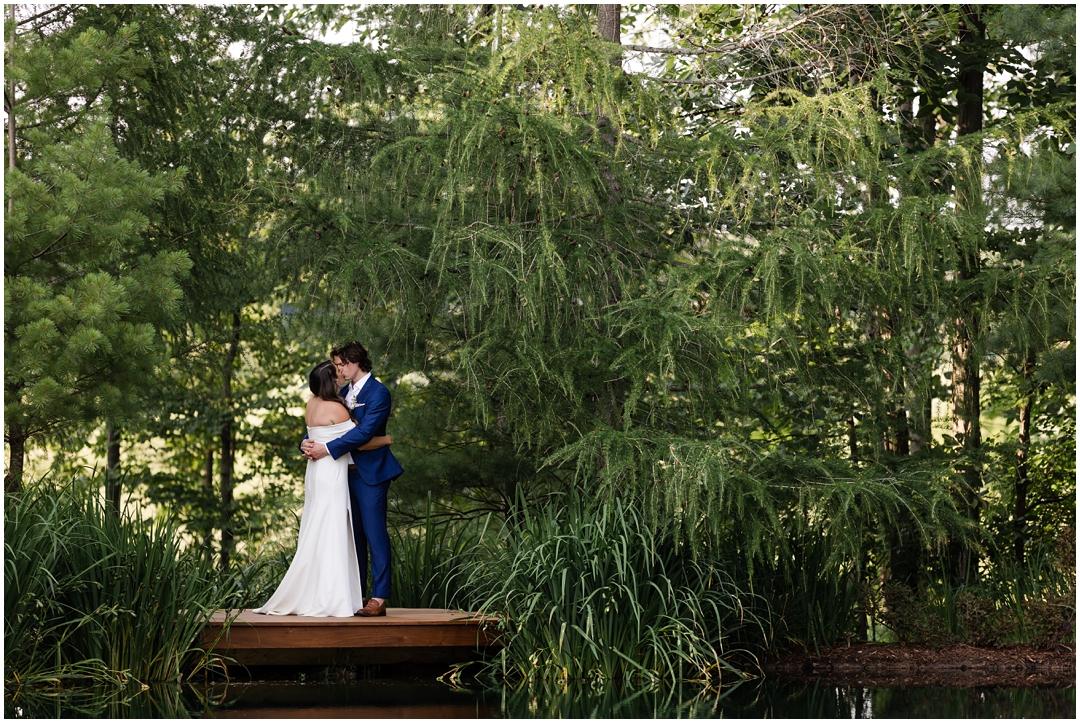
So, you’ll notice this a lot. This is a really simple one. Sometimes you’ll see really vibrant bright, bright light colored greens in grasses, or leaves, or whatnot. And a lot of the times you know, it could just be the way that it is, or its extra manipulation within Lightroom or Photoshop. And one of the ways that you can do that, is by taking your yellow filter, because there’s yellow within greenery, and whatnot.
So, if you just look at the [inaudible 00:02:08], and the leaves on the tree, and the greenery within her bouquet, as I slide everything all the way to the right all of the yellows that were once up here in the tree, are now green. So, everything is very green, we no longer have that weird yellow coming into the mix. And when you look around and zoom in, and it doesn’t look like we really made a whole lot of changes to her face. The only thing that, that changed by moving all the way over, is this highlight in her hair turned really green.
So, that’s something that you would have to be careful about, if you didn’t want that to turn too green. Same thing with your greens. You can make your greens error more towards the yellow side, or error more towards that really darker, more richer green, aqua kind of, a mix. And so, that will make a difference too.
So, the more you move it this way, the more greener-ish your greens get, and the more you move it this way, the more dull and yellow your greens get. You do the same thing with your aquas, your blues, your purples, and your magenta’s. So, that’s pretty self explanatory. Saturation again, is straight up your saturation within each color. So, you’re either de-saturating all the reds. There, you can see where those are. You can de-saturate your oranges, and that just covers everything within that color.
Sometimes if you’re looking to do a more de-saturated photo, what you can do, is make almost like a tone curve within your hue and saturation. So, what I mean by that is, if I want to de-saturate this picture I could literally do this tone curve. You see how it has like a curve right there? I could do that and literally make it de-saturated amongst everything, and then I still have kind of, a curve within the de-saturation’s of all the different colors, which is kind of interesting. So, that’s definitely something that you could do, if you wanted to.
Your illuminance is basically how bright … Apologize if I say that too many times, but it is how bright your colors are within each one. So, all of your reds, this is saying, “I want to illuminate or brighten up my reds a little bit more.” Or, “I want to darken my reds.” For example. One of the things that we had talked about in the class was, what if someone comes up to me and says that, “I want to look more tan in my picture?” So, just like with your white balance, you can use this little button here. It says, “Adjust saturation by dragging it into the photo.”
So, you can click on that button and then you can choose where you want the saturation. So, you can pop on over here and put it on her face, and you can click and raise that up. And you see how it’s not raising up evenly, it’s a little bit disproportionate between the reds and the orange? Because she does have different colors of red and orange within her skin. So, if you raise it up what you’re saying is, “I want to saturate the colors in her skin.”
And keep in mind, it’s going to saturate all of the other colors that match her skin tone within the rest of the image, so you’re going to have to be careful if there’s a lot of other oranges and reds that you’re going to be messing with. Here we’re not really going to run into that issue.
Then you would go to your illuminance, which is how bright those colors are. Use that color picker, or little dopper again, and click on her forehead, and then you want to darken those colors. So, you’re darkening those colors. If you want to see the before and after … So, here is before anything has been done with the HSL. And this is after. And you’ll notice she was a little bit whiter before, and now she’s a little bit tanner.
So, that is one way that you can make someone a little bit more than without having to take your image into Photoshop and adjusting it that way. Again, you can also look at everything. I like to look at everything all in one, and see all of my hue saturation and illuminance right there together. So, that works out really nicely for me.
Alright. So, that’s what I have on HSL and color. And next is split toning. So, split toning is kind of interesting, because it really depends like, for example, if you’re in a very mountainous background or whatnot, and you notice that anything within the shadows is really, really dark. So, let’s see if we can find an example. Not the greatest examples.
So, I don’t have awesome examples to share with you, but let’s say that you have a really cool looking background, but your subject is really warm, and you need to either cool your subject or warm the background, and if they have different colors … So, maybe you’re standing in the shade, and behind you is a sunset. And so, you’re blue looking or cooler, and the sunset is nice and yellow. What you can do is, since you’re in the shade, you can say, “Okay, well I want the shade, instead of being blue, I want it really yellow.”
So, all I’m doing is saying, “I want my shadows to be this golden color.” And I’m just using this generic one right now that pops up. And this gives you an idea of what its doing. It’s taking all of your shadows and making it this color. Obviously we don’t want them all that color, so we’re just going to bump it down to a comfortable level.
If your highlights for example, were too orange or yellow, or whatnot, and you wanted to cool those down, you could do the same thing and just cool down your highlights a little bit as well. Your balance is just saying, “I want it to balance more towards the shadows.” Or, “I want it to balance more towards your highlights.” Pretty simple. Dark to the left, lights to your right. So, your shadows are to the left, your highlights are to the right. Makes it easier to know what direction you’re going. Otherwise you can see it when you’re using the sliders as well.
So, let’s see a before and after. So, this is before split tonight. And this is after. So, if we want to just make it a little bit more obvious, I’m just going to do this. So, this is the before. And here is your after. So, I wouldn’t do it to that extent, but this’ll make it easier for you guys to see on the screen what it looks like. Split toning is a really great way, if you are dealing with different kinds of light, and part of the image is one color and part of the image is another color. I wouldn’t recommend doing this on you know, weddings. You might have a ton of images, so that might not be beneficial to do it on weddings, but maybe if you have portrait sessions and you have the time to go in to do this, then I would definitely recommend it.
That’s all I have for HSL color and split toning. Let me know if you have any questions, and we’ll see you next time.


ADD A COMMENT